Scanning a double-sided document doesn’t have to be a frustrating chore that eats up your day. If your scanner has an Automatic Document Feeder (ADF), you can usually just find a “Duplex” or “2-Sided” option in the settings. If not, don’t worry—you can still get it done by scanning all the front pages first, then flipping the whole stack to scan the backs, and finally merging them together with software.
Why Getting This Right Actually Matters
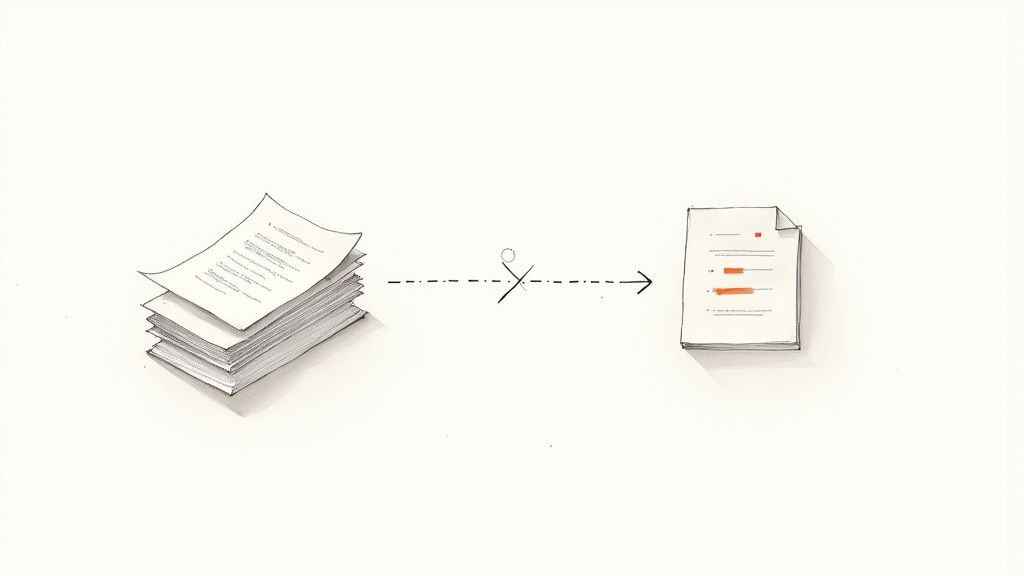
Let’s be honest, staring at a thick stack of two-sided documents feels daunting. Each page is a two-step hassle: scan one side, flip it over, scan the other, and cross your fingers that you keep everything in the correct order. This manual grind can hijack your entire afternoon, turning a simple task into a major time sink and creating a digital mess that’s just as chaotic as the paper one. The real pain point isn’t just the scanning; it’s the mental energy wasted on organizing a task that should be simple.
The real goal here isn’t just to make a digital copy. It’s about getting it done quickly and accurately, without the headache, so you can move on with your day.
This guide is here to give you an actionable workflow that gives you back your time and peace of mind. Learning how to handle double-sided documents efficiently is a huge step toward conquering those paper piles for good. For a deeper dive into this, check out our guide to building a paperless document management system.
Which Scanning Method Is Right for You?
Use this quick comparison to choose the best way to scan your double-sided documents based on your equipment and how much time you have.
| Scanning Method | Best For | Speed | Effort Level |
|---|---|---|---|
| Automatic Duplex Scanner | Large batches of documents; offices | Fastest | Low |
| Manual Flip (ADF/Flatbed) | Occasional scanning; home use | Medium | Medium |
| Smartphone Scanning App | On-the-go needs; a few pages | Slowest | High |
Ultimately, the best approach depends entirely on the tools you already have on hand. You don’t need to rush out and buy expensive new hardware to get great results.
We’re going to walk through three practical methods that cover every scenario:
- Using an automatic duplex scanner—the “set it and forget it” option for maximum productivity.
- The manual workaround for single-sided scanners that’s completely free and surprisingly effective.
- A mobile app approach that turns your smartphone into a powerful pocket scanner.
The demand for smarter document solutions is booming. The market for duplex scanners, which handle both sides in one pass, was valued at USD 3.8 billion and is projected to reach USD 6.7 billion by 2033. It’s clear that people are looking for tools that save time and make their lives easier.
By the end of this guide, you’ll be able to confidently turn any stack of paper into a clean, organized, and searchable digital archive.
The Easiest Way: Using an Automatic Duplex Scanner
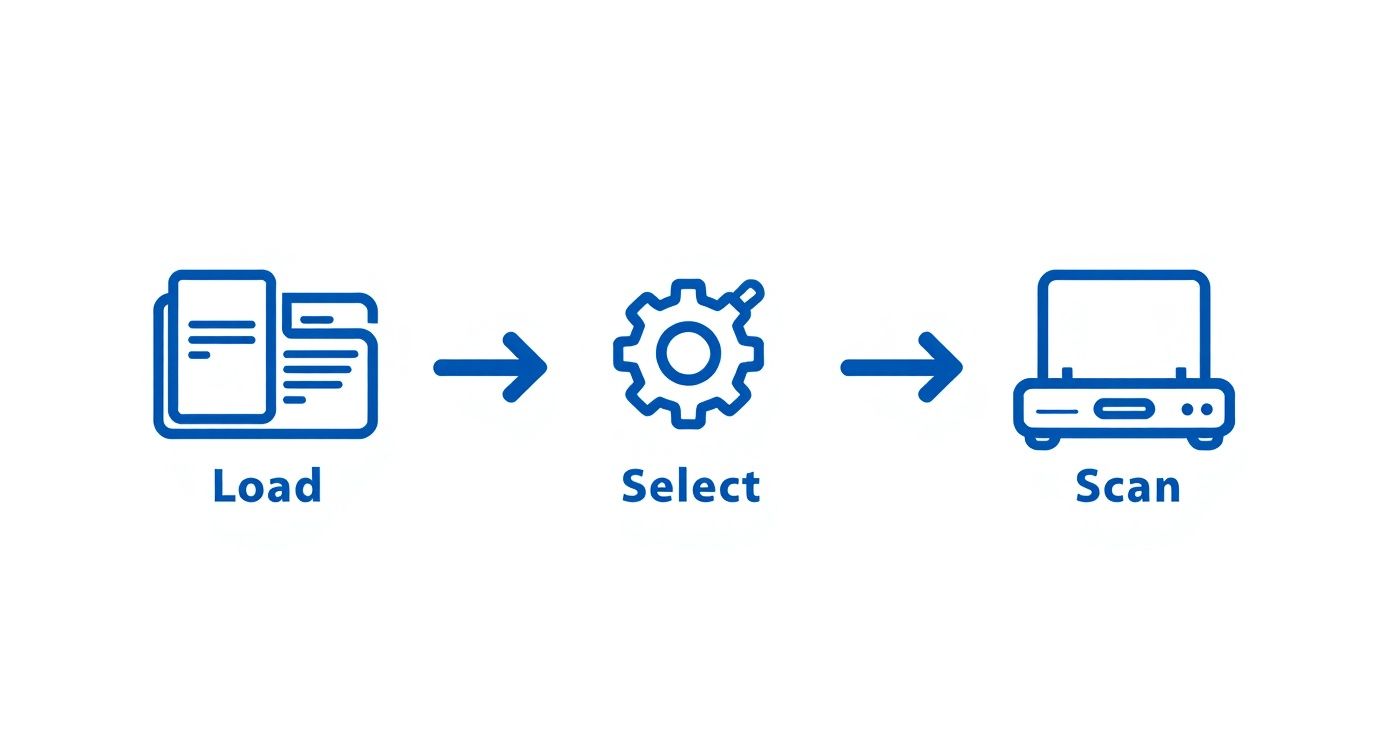
If you’ve got a scanner with an Automatic Document Feeder (ADF) that handles duplex scanning, you’re in luck. This is by far the fastest and most efficient way to digitize your two-sided documents. Think of it as the “set it and forget it” method—perfect for turning a daunting stack of paper into a clean digital file, freeing up your time for more important tasks.
So how does it work? A true duplex scanner has a clever trick up its sleeve: it uses two cameras to capture both the front and back of a page in a single pass. This is what makes it so incredibly fast. The only real step for you is finding the right setting in your scanner’s software.
Dialing in the Right Settings
Before you hit that scan button, take a second to pop open the scanning software on your computer. You won’t be using the flatbed glass for this, so your first move is to change the “Source” to “Automatic Document Feeder” or “ADF”.
Next, hunt for the two-sided scanning option. It goes by a few different names depending on the brand, so look for a checkbox or dropdown menu labeled:
- Duplex Scanning
- Scan Both Sides
- 2-Sided Scanning
Sometimes, you might even see a “Book Mode” or an option to choose between a “Long-edge” or “Short-edge” flip, which is handy for landscape documents or booklets. Ticking this box is the magic wand that tells the scanner to capture everything and assemble the pages in the right order automatically.
This image shows a typical all-in-one printer with the ADF right on top. That’s where your stack of paper goes. The machine just pulls each sheet through from the feeder, does its thing, and spits it out below.
My Go-To Tip: Before you load a big stack of documents into the ADF, give the edge of the papers a quick “fan” with your thumb. It only takes a second, but it helps separate any pages that are sticking together and dramatically reduces the chance of a frustrating paper jam. This small habit saves immense time and frustration.
Once you’ve selected the duplex setting, you’re good to go. The scanner will pull each page through, scan both sides, and compile them into a perfectly ordered, multi-page PDF. It’s a completely hands-off process that delivers professional results every time.
The Manual Flip for Single-Sided Scanners
What if your scanner doesn’t have a fancy automatic duplex feature? No problem. You don’t need to run out and buy new hardware to get the job done. With a simple, hands-on technique, you can easily scan any double-sided document using the single-sided scanner you already have.
This method gives you a reliable way to create clean, complete digital files. Getting this right is a bigger deal than you might think. Studies show that 83% of workers would rather just recreate a document from scratch than search for a lost one, which highlights how vital a good scanning process really is. You can dig deeper into the importance of document accessibility on llcbuddy.com.
The process is surprisingly straightforward. First, you’ll scan one side of your entire document stack. Then, you just flip the stack over and scan the other side. The real magic happens in the software afterward.
The Two-Pass Process
Here’s a practical example: Imagine you have a 10-page, double-sided report.
- First Pass: Load all 10 pages into your scanner’s feeder and scan just the front sides. This creates a digital file of all the odd-numbered pages—1, 3, 5, and so on. Save this file as “Report-Fronts.pdf”.
- Flip and Reverse: Take the stack of paper from the output tray. Do not shuffle or reorder them. Simply flip the entire stack over and place it back in the feeder.
- Second Pass: Run your second scan. This pass captures all the back sides—pages 2, 4, 6, etc. Save this file as “Report-Backs.pdf”.
This simple workflow is all it takes to get your documents digitized.
The only thing you really need to watch is keeping the paper stacks organized. If you do that, the final document will come out perfectly ordered.
Pro Tip: Before you start, poke around in your scanner’s software. Some programs have a built-in feature that walks you right through this. Look for a setting called “Manual Duplex” or “2-Sided Scan (Manual).” It will scan one side, pause, and then prompt you to flip the stack, automatically handling the page reordering for you.
With your two separate PDF files ready—“Fronts.pdf” and “Backs.pdf”—the final step is to merge them. You can use tools built right into Adobe Acrobat or any number of free online PDF combiners. These tools will automatically interleave the pages from your two files, creating a single, properly sequenced document in seconds.
It takes a few extra minutes, but this manual flip method delivers the exact same professional result without costing you a dime.
Scanning on the Go With Your Smartphone
Let’s face it, you don’t always have a scanner handy when you need to digitize a document. The good news is, the powerful camera in your pocket is often all you need. Using your smartphone gives you the freedom to scan a double-sided document from literally anywhere—a client’s office, a coffee shop, or even your car. This is productivity in motion.
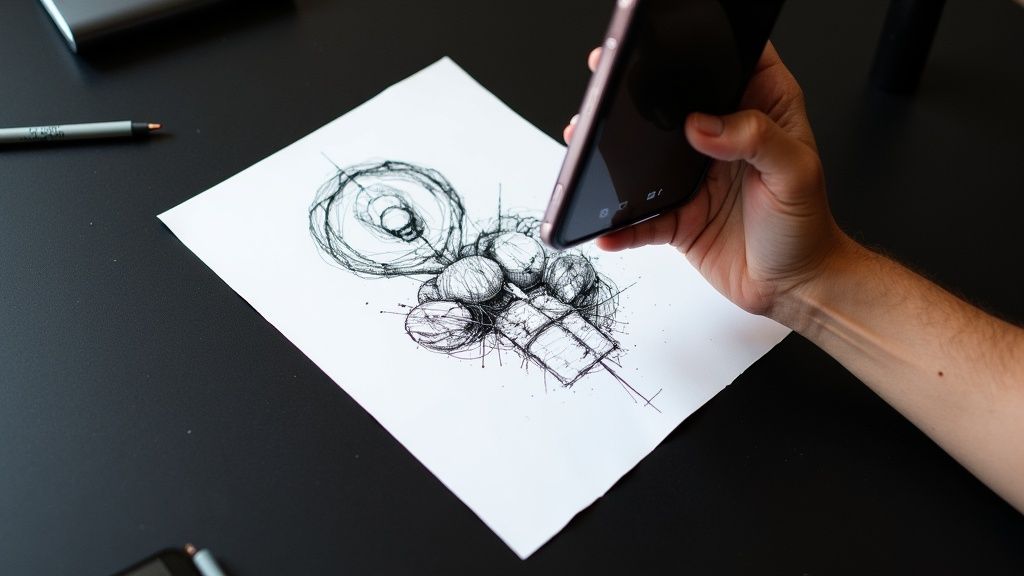
There are some fantastic free apps out there for this. Think Microsoft Lens, Adobe Scan, or even the Notes app that’s already on your iPhone. These tools are smart enough to automatically find the edges of the paper, fix any weird angles, and stitch multiple photos into one clean PDF. If you’re scanning a lot of pages while you’re out, it’s also smart to know how to use a power bank effectively so you don’t run out of juice.
Capturing the Perfect Mobile Scan
Getting a crisp, clear scan with your phone really comes down to your setup. A few small tweaks can drastically improve the quality of your final document.
- Find Good Lighting: Natural, indirect light is your best friend. Try to set up near a window to avoid casting harsh shadows across the page.
- Use a Contrasting Background: Lay your document on a dark, flat surface. This simple trick makes it much easier for the app to detect the page borders accurately.
- Keep it Steady: For the best results, hold your phone parallel to the document, directly above it. This helps prevent skewed or distorted text.
The process itself is straightforward. For a two-page document, just scan the front side of page one, then the back side. Next, scan the front of page two, and then its back. The app will capture each side as a new page in the sequence.
The real magic is how these apps let you organize everything afterward. Once you’ve captured all the pages, you can just drag and drop the thumbnails to get them in the right order—page one, page two, page three—before saving it all as a single, multi-page PDF.
This method untethers you from your desk and lets you manage paperwork on the fly. For a deeper dive, check out our complete guide on scanning documents on your iPhone. It’s a great starting point for turning your phone into a serious productivity tool.
Tips for Professional-Quality Scans Every Time
Knowing the basic steps to scan a double-sided document is one thing, but creating a truly professional digital file takes a little more finesse. These small adjustments can transform a decent scan into a perfect one, saving you headaches down the road and ensuring your digital archive is clean, clear, and reliable.
For most text-heavy documents like contracts, invoices, or reports, 300 DPI (dots per inch) is the gold standard. This resolution keeps the text perfectly sharp for both on-screen reading and printing, all without creating massive file sizes that are a pain to store and email.
If you’re scanning something with intricate graphics or high-quality photos, you might want to bump that up to 600 DPI. But for the vast majority of everyday paperwork, 300 DPI is the sweet spot.
Making Your Scans Searchable and Clean
One of the most powerful features you should always use is Optical Character Recognition (OCR). When you turn this on, the software “reads” the text in your scanned image and converts it into actual, searchable data.
This is a game-changer for productivity. It means you can hit Ctrl+F (or Cmd+F on a Mac) and instantly find a specific name, date, or phrase within a multi-page PDF. No more manually skimming or retyping. Our guide to using an OCR document organizer dives deeper into just how much time this simple feature can save you. While scanner OCR is a great first step, dedicated AI tools take it to the next level by not just making text searchable, but by understanding and organizing the content for you.
Even the best scanners aren’t perfect, and you’ll sometimes run into minor issues. A common one, especially with thin paper, is “show-through,” where you can faintly see the text from the other side bleeding through.
Thankfully, many modern scanning programs can tackle this. Some advanced software can digitally fuse the scans from both sides, achieving a success rate of over 90% in getting rid of that pesky show-through. However, this trick relies on near-perfect page alignment. As some research on show-through reduction has found, even a slight misalignment can reduce its effectiveness by up to 30%, which is why a final once-over is so important.
Key Takeaway: Always give your scans a quick look before saving. A quick check for crooked pages, dark spots, or show-through lets you use your software’s built-in cleanup tools. Look for features like auto-straighten, speckle removal, and brightness/contrast adjustments to create a flawless final document.
Still Have Questions About Double-Sided Scanning?
Even after you’ve got a system down, a few tricky situations can pop up. Let’s tackle some of the most common questions I hear when people are getting the hang of scanning two-sided documents.
How Do I Combine the Front and Back Scans Into One File?
This is the big one if you’re using the manual flip method. You’ve got your stack of odd-numbered pages in one file and the even ones in another. Now what?
Thankfully, you don’t need any fancy software. Most PDF tools, including the free version of Adobe Acrobat Reader, have a “Combine Files” or “Merge PDF” function. You just select your two files, and the software will interleave them. It’s a surprisingly simple process that brings everything together into a single, correctly ordered document.
What’s the Best Resolution for Scanning Documents?
For everyday documents—think contracts, invoices, or reports—300 DPI (dots per inch) is the sweet spot. It’s perfectly clear for reading and for OCR software to recognize the text, but it won’t create massive files that are a pain to email or store.
If you’re scanning something with fine detail, like a photograph or a complex diagram, you might want to bump it up to 600 DPI. Just be ready for a much larger file size.
My Scanner Keeps Jamming. What Should I Do?
Ugh, the dreaded paper jam. It’s almost always caused by one of two things: the paper itself or dirty scanner rollers. Before you do anything else, check your stack for any sneaky staples, paper clips, or folded corners.
A little pro tip: fan the stack of paper with your thumb before loading it. This separates any pages that are stuck together from static. If the jams keep happening, it’s time to clean the rollers. A lint-free cloth with a bit of isopropyl alcohol usually does the trick, giving them back the grip they need to feed pages smoothly.
A Simple Trick for Cleaner Scans: Look for a “Skip Blank Pages” or “Blank Page Detection” setting in your scanner software or mobile app. Always turn this on. It automatically gets rid of any empty sides, so your final PDF is tidy and professional without any extra effort on your part.
Tired of the manual filing grind? With Fileo, you just drop your scanned documents into your cloud storage. Our AI takes it from there—naming, categorizing, and organizing everything for you. Stop the pain of manual document management and gain true peace of mind. Get your time back and see how it works at https://fileo.io.