Installing Homebrew on your Mac is surprisingly simple and unlocks a huge boost in productivity. It all boils down to pasting a single command line into your Terminal. This script does all the heavy lifting, saving you from tedious manual setups. It’s truly the quickest way to get the missing package manager for macOS running, giving you more time for what matters.
Why Homebrew Is a Game-Changer for Your Mac Workflow
Before we jump into the command line, let’s talk about the why. We’ve all felt the pain of manual software installation: you hunt for a website, find the download page, drag the icon to your Applications folder, and then try to remember to check for updates later. It’s a clunky, disorganized process that eats away at your precious time.
Imagine setting up a new Mac for a project. You need Git, Python, Node.js, and a dozen other tools. Manually tracking down and installing each one could easily waste an entire afternoon. This is a classic productivity killer that leaves your system cluttered with forgotten files.
Take Back Your Time and Get Peace of Mind
This is exactly the problem Homebrew solves. Instead of hunting for installers, you just open your Terminal and run a simple, actionable command like brew install git. Homebrew handles everything—fetching the software and its dependencies—while keeping your system neat and tidy. This is automated organization at its best.
This command-line approach brings serious, practical benefits:
- Painless Updates: A single command,
brew upgrade, brings all your tools to the latest version. No more manual checks, just peace of mind. - Squeaky-Clean Uninstalls: When you’re done with a tool,
brew uninstallremoves it and all its files. No more digital clutter. - Repeatable Setups: Create a simple script with your essential tools. The next time you set up a Mac, you can turn hours of tedious work into a hands-free process that takes just a few minutes.
Homebrew transforms software management from a messy chore into a clean, automated system. You get the peace of mind that comes from knowing your tools are organized, current, and installed correctly every time.
This move toward a more efficient workflow isn’t just a niche preference. In Switzerland, for instance, developers increasingly rely on package managers like Homebrew to standardise their setups, a trend seen worldwide. You can find more interesting macOS usage statistics over at spyhunter.com . By installing Homebrew, you’re not just adding a new program; you’re adopting one of the most powerful productivity tools you can have on a Mac.
Getting Your Mac Ready for Homebrew
Before you start, a quick two-minute check-up will save you from future headaches. Think of it as preparing your workspace. Getting these few things in order first is the secret to a smooth, first-try installation, giving you a quick win and saving time right away.
What Homebrew Needs
First, Homebrew works best with modern versions of macOS. You’ll need at least macOS Catalina 10.15, but anything newer is perfect.
Homebrew also relies on a set of tools from Apple called Command Line Tools for Xcode. If you’ve done any development work on your Mac before, you likely already have these installed. If not, don’t worry—it’s a simple, actionable fix.
To make this even easier, here’s a quick checklist to run through.
Quick Homebrew Readiness Checklist
Use this table to quickly verify that your Mac meets the necessary requirements for a smooth Homebrew installation.
| Requirement | How to Check | Simple Fix if Missing |
|---|---|---|
| macOS Version | Click the Apple logo () > About This Mac | Update your system via System Settings > Software Update |
| Command Line Tools | Open Terminal and run xcode-select -p | Run xcode-select --install in Terminal |
Running these quick checks ensures your system is primed and ready.
A Single Command to Rule Them All
Honestly, the easiest way to handle the Command Line Tools requirement is to just try installing them. Your Mac is smart enough to figure out if you need them.
Open your Terminal app (find it in Applications/Utilities or search with Spotlight). Then, copy and paste this command and hit Enter:
xcode-select --install
Two things can happen:
- You’ll see a message like
"command line tools are already installed". Perfect, you’re all set. - A window will pop up asking if you want to install the tools. Just click “Install” and follow the prompts.
Taking a moment to run this single command is the most reliable way to prevent the most common installation hiccup. It’s an actionable step that ensures Homebrew has everything it needs to get up and running without a fuss.
Once that’s done, you’re officially ready to install Homebrew on your Mac .
The One Command to Install Homebrew
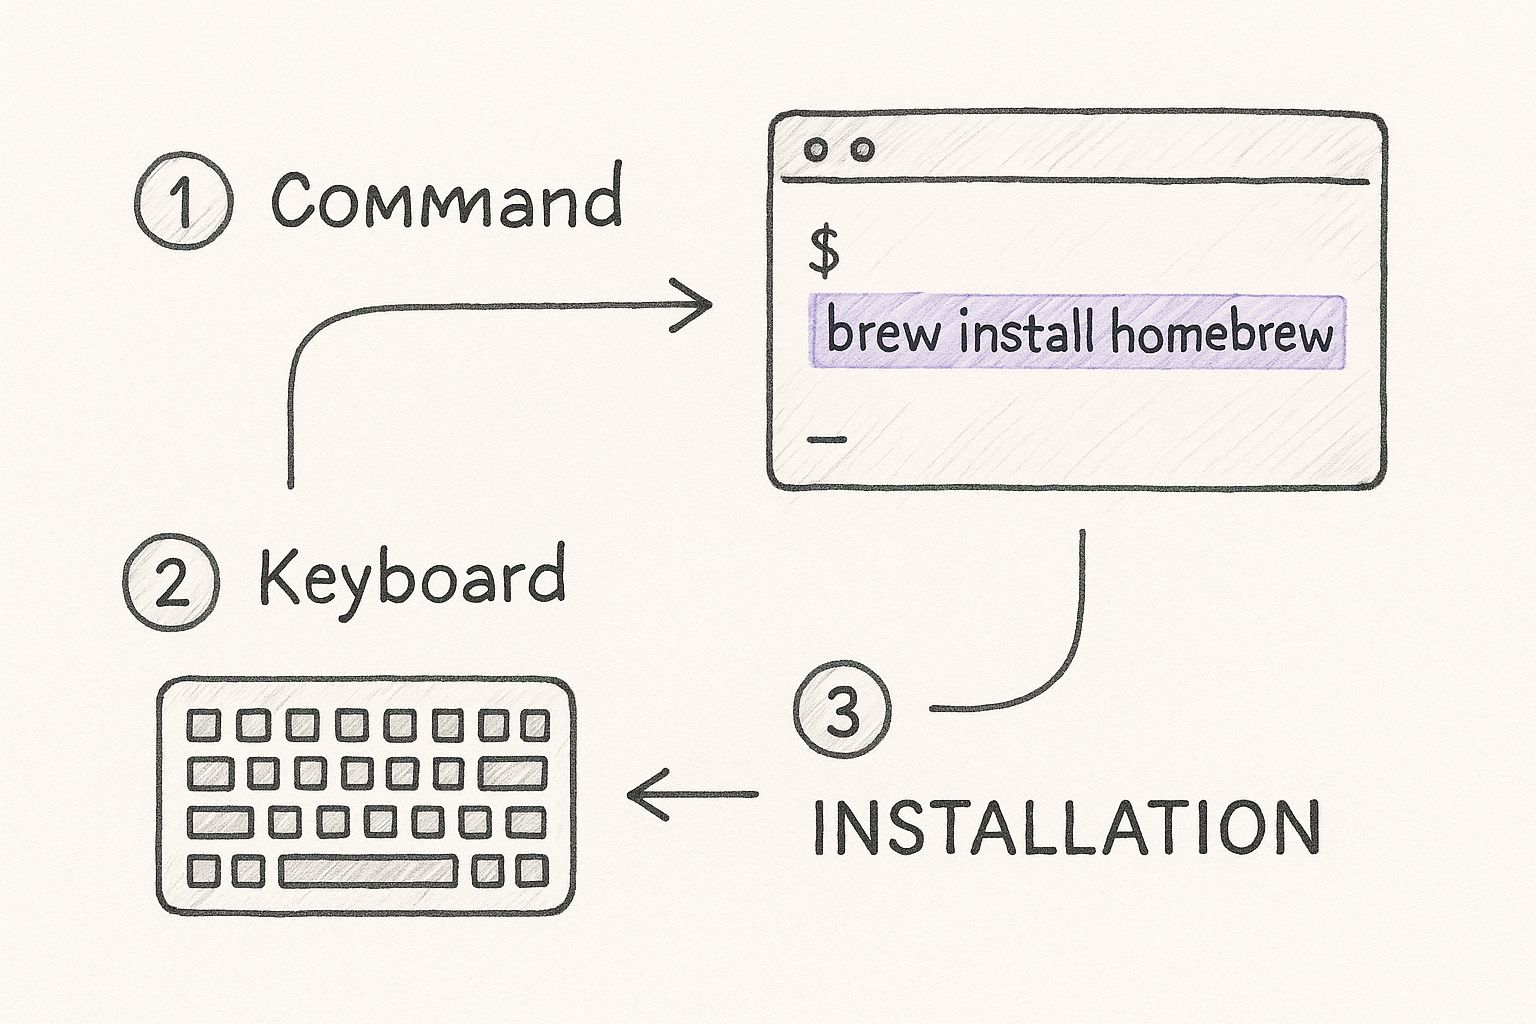
This is where the magic happens. Getting Homebrew up and running is surprisingly simple—no clunky installers or complicated wizards. All you need is a single, powerful command to save you time.
First, open your Terminal. The quickest way is to use Spotlight: press Command + Spacebar and start typing “Terminal”. You can also find it in Applications/Utilities if you prefer.
With your Terminal window ready, copy this entire line of code. It’s a bit long, so make sure you grab the whole thing.
/bin/bash -c “$(curl -fsSL https://raw.githubusercontent.com/Homebrew/install/HEAD/install.sh)"
This command pulls the official installation script directly from the Homebrew repository and runs it. It’s the safest and most reliable way to get started.
Running the Installation Script
Once you’ve pasted the command into your Terminal, hit Enter. The script will kick off and ask for your password. This is completely normal; Homebrew needs administrator access to set up its directories properly.
You won’t see characters appear as you type your password. That’s a standard security feature, so don’t worry. Just type it in and press Enter.
The script is smart. It automatically checks for dependencies, creates the right folders (usually in
/opt/homebrewon Apple Silicon Macs), and downloads everything. Your only job is to give it the green light and watch it save you time.
The whole process can take a few minutes. You’ll see text scrolling by as the script reports its progress. Just let it work.
When it’s all done, you’ll see a message confirming a successful installation. That’s it! You’ve just unlocked a much more productive way to manage software on your Mac.
Verifying Your Homebrew Installation
Alright, the script has finished. Now for the moment of truth: making sure Homebrew is ready to go. Think of this as a quick post-install check-up to ensure your peace of mind.
Homebrew comes with a handy built-in diagnostic tool called brew doctor. Running this is like asking Homebrew to give itself a health check. It scans for common problems that could cause trouble later.
Open your Terminal and run this actionable command:
brew doctor
If the installation was a success, you should see a reassuring message: “Your system is ready to brew.” That’s your green light. It means you have a fully functional package manager, giving you confidence that future installations will go smoothly.
Putting Homebrew to Work: Your First Install
Now for a practical example. The best way to see Homebrew’s power is to install something genuinely useful. Let’s grab wget, a classic command-line tool for downloading files from the internet.
Installing it is incredibly straightforward. Just run this:
brew install wget
You’ll see Homebrew spring into action. It finds the wget package (a “formula”), figures out its dependencies, and installs everything for you. This is the solution to the pain of hunting for download links and manually managing files.
That first successful
brew installis a great feeling. It’s the “aha!” moment where you realize just how much time you’re about to save. Complex software installations are now just one simple, repeatable command away.
Interestingly, feedback from developers in Switzerland often highlights that while Homebrew is a massive time-saver, command speeds can differ. On typical Mac hardware, a command like brew help usually takes between 950 and 1,150 milliseconds to run. You can dive deeper into these performance metrics in the Homebrew discussions on GitHub
.
This is the kind of efficiency that truly boosts your productivity on a Mac.
Troubleshooting Common Installation Issues
Even the smoothest installation can hit a snag. If you run into trouble while setting up Homebrew on your Mac, don’t worry. Most issues are common and can be sorted out with a single command, saving you time and frustration.
The most frequent hiccup is a permission error, especially with the directories Homebrew uses. This can pop up if the user permissions on your system aren’t standard. Thankfully, you don’t need to dig through complex settings to fix it.
Fixing Permission Problems
If things feel off, your first port of call should always be the actionable command brew doctor. This tool is brilliant at diagnosing problems and will often tell you exactly what’s wrong. If it flags permission issues, the fix is usually to reset the ownership of Homebrew’s directories to your user account.
On an Apple Silicon Mac, use this command:
sudo chown -R $(whoami) /opt/homebrew
And for older Intel Macs, this is the one you need:
sudo chown -R $(whoami) /usr/local
Run the command that matches your Mac. This simple step resets permissions and, more often than not, solves the problem instantly.
Don’t let a small error derail you. Think of these commands as your first line of defence; they’re designed to handle the vast majority of installation headaches, giving you peace of mind.
Another classic issue is a network timeout. If your internet drops out while the script is downloading, the easiest solution is to wait a few minutes and run the installation script again.
Finally, you might bump into a problem with your system’s PATH. This tells your Terminal where to find commands. If brew doctor gives you a “command not found” error, your PATH is the culprit. The installer actually gives you the exact on-screen instructions for adding Homebrew to your PATH—just follow those final steps, and you’ll be all set.
Frequently Asked Questions About Homebrew

Once you’ve got Homebrew up and running, you might have a few questions. That’s normal. Let’s run through some common ones to help you use it with confidence.
How Do I Keep My Software Updated?
This is where Homebrew really shines for productivity. Keeping your tools current is a breeze and only takes two simple commands.
First, run brew update to fetch the latest list of available software versions. After that, upgrade everything with a single command: brew upgrade. That’s it.
Making this a regular habit is a massive time-saver. Speaking of saving time, we’ve gathered some other great productivity tips and tricks for 2025 that you might find useful.
What Is the Difference Between a Formula and a Cask?
Understanding this is key to using Homebrew well. It’s a simple but powerful distinction.
- Formulas are for command-line tools like Python, Git, or
wget. To install one, you typebrew install <formula_name>. - Casks are for standard Mac applications with graphical interfaces, like Google Chrome, Slack, or VS Code. The command is almost the same:
brew install --cask <cask_name>.
How Do I Find New Software to Install?
You don’t need to leave the terminal to discover new tools. Homebrew’s built-in search is a practical way to find what you need quickly.
Just use the
brew searchcommand followed by a keyword. For instance, runningbrew search browserwill show you a list of all web browsers Homebrew can install. It’s a surprisingly powerful way to explore new software.
How Do I Uninstall Something with Homebrew?
Getting rid of software is just as easy as installing it. When a tool is no longer needed, a quick brew uninstall <package_name> will do the trick.
The real advantage is that Homebrew does a proper clean-up, removing all associated files. This is the solution to the pain of dragging an app to the Trash, which often leaves behind clutter. It’s a great way to keep your Mac’s system lean and well-organized for maximum peace of mind.
Ready to bring that same level of organization to your documents? Fileo uses AI to automatically sort all your digital files—from invoices to contracts—right within your existing cloud storage. This is the solution to the pain of manual document organization. Stop wasting hours and let our smart system give you back your time. Start simplifying your document management with Fileo today .